
Please Note:
If you require ad-hoc support but are not yet a Tranquil IT support client please contact us on either 0330 08 58 68 or through our Contact Us page before carrying out the below instructions, one of our team is waiting to assist you.Step 1
Install Remote Support Client
Microsoft Windows Install Guide
Step 2
Click here to download our remote support software, you should be prompted with a page as per the below whilst the file downloads.

Step 3
Once the file has downloaded double click it to start the installation:
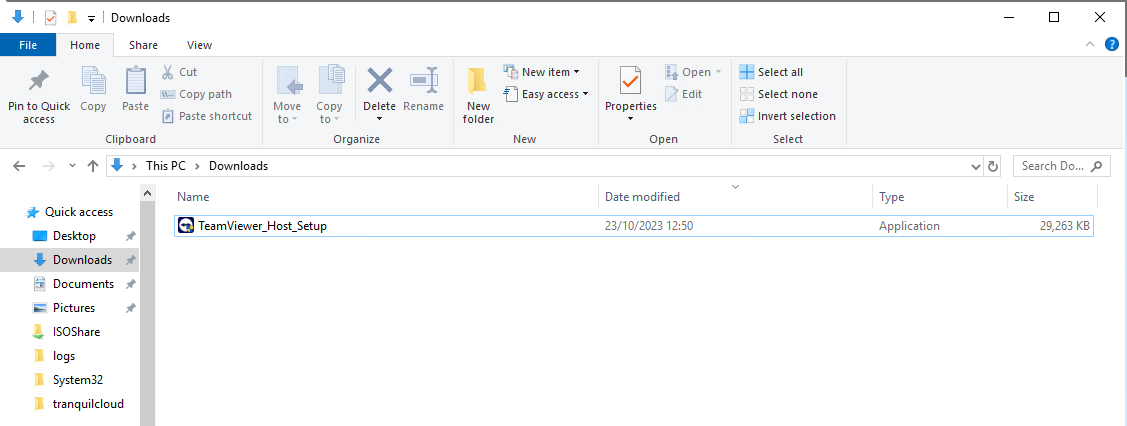
NB: If you are having trouble locating the downloaded file it is likely in your Downloads folder as shown in the image below.
Step 4
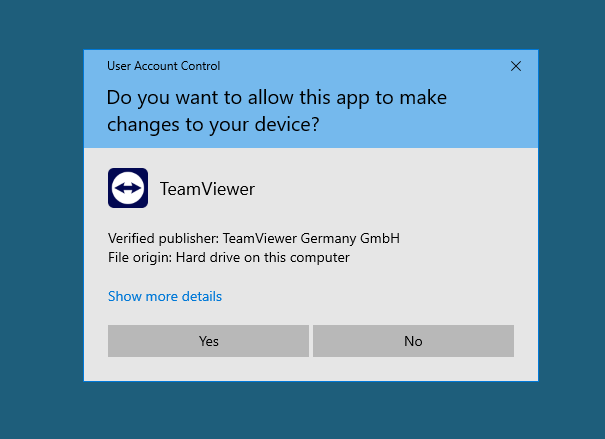
You will now be requested to provide user account control as per the below image. Simply click yes to continue:
Step 5
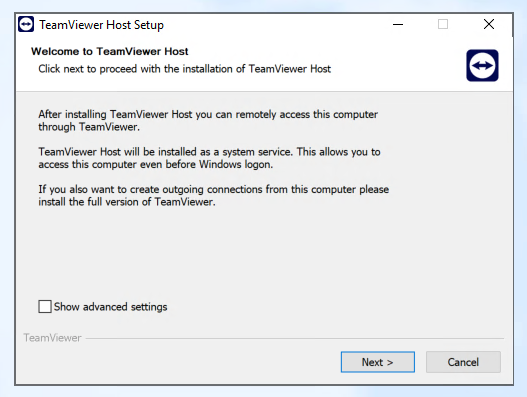
Click next to proceed with the installation:
Step 6
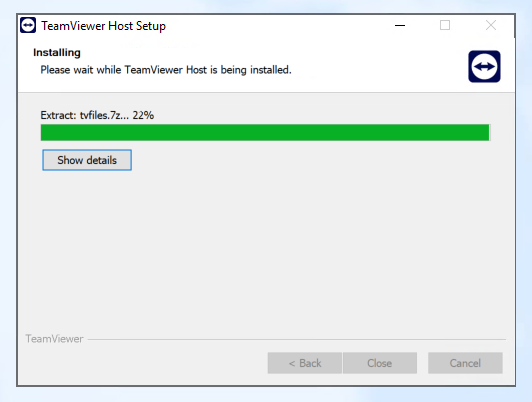
Teamviewer will now install:
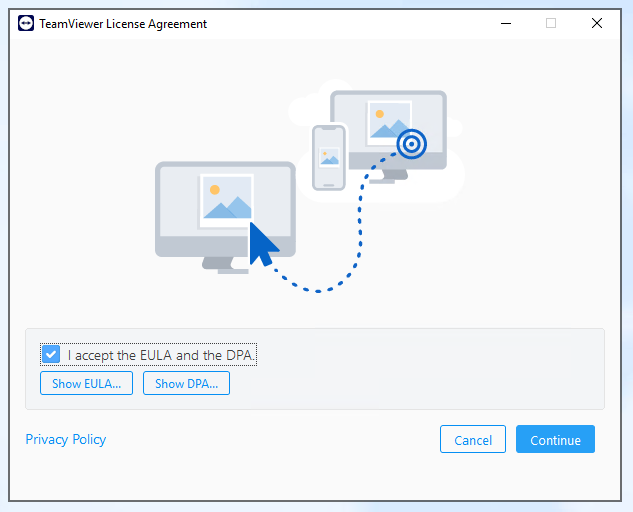
Step 7
When the installation is complete you will be taken to the following page to accept the license. Read through the EULA and DPA and if you are happy place a tick in the box confirming acceptance and click continue:
Step 8
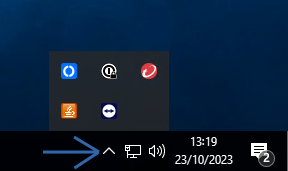
Your installation is now completed you will now find your Teamviewer icon
 in the bottom right hand corner of your screen, if you aren't able to see the icon simply click the Carat in the bottom right hand corner to show any hidden icons. Once you have located the icon click on it :
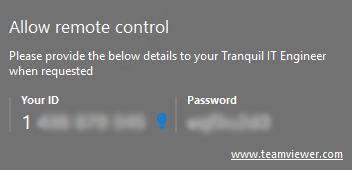
Step 9
Now simply provide your personal ID and Password to your tranquil IT Engineer, which will be found at the bottom of the window that opens as per the below image :
Mac OS Install Guide
Step 2
Click here to download our remote
support software, you should be prompted with a page as per the below whilst the file downloads.
Step 3
Once the file has downloaded double click it to start the installation:
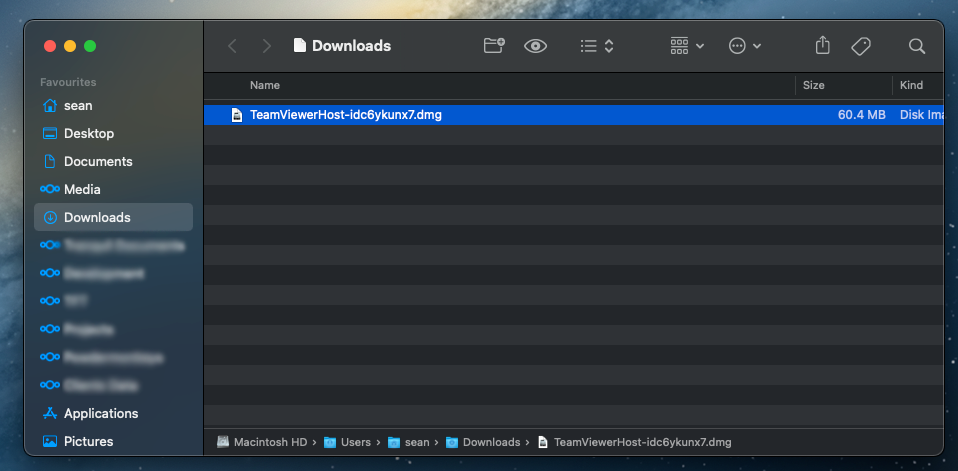
NB: If you are having trouble locating the downloaded file it is likely in your Downloads folder, you can access this through finder as shown in the image below.
Step 4
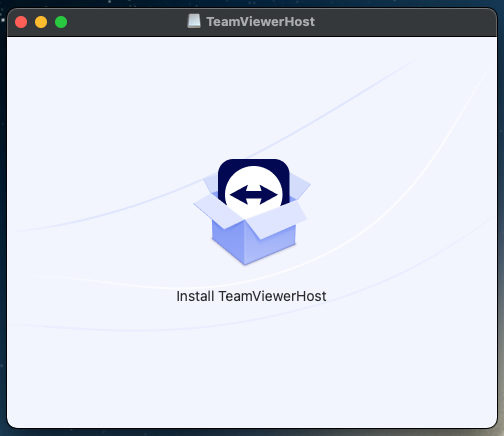
The disc image will now open simply click Install TeamViewerHost:
Step 5
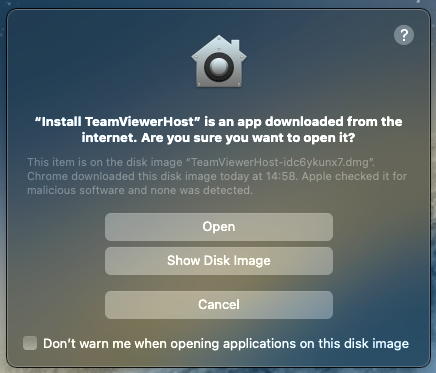
You may now be prompted with a security warning, if yu are click Open from the dialog box that appears:
Step 6
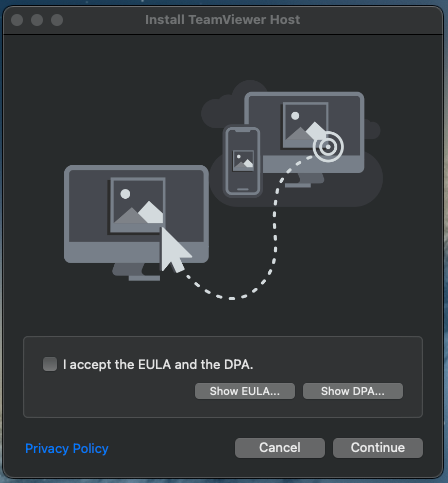
Read the End User License Agreement and the Data Processing Agreement, if you are happy with the terms, place a tick in the box signifying your acceptance and click continue :
Step 7
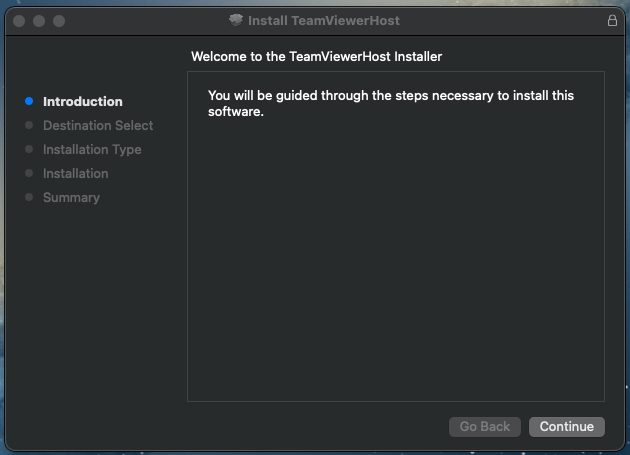
Click continue on the next window:
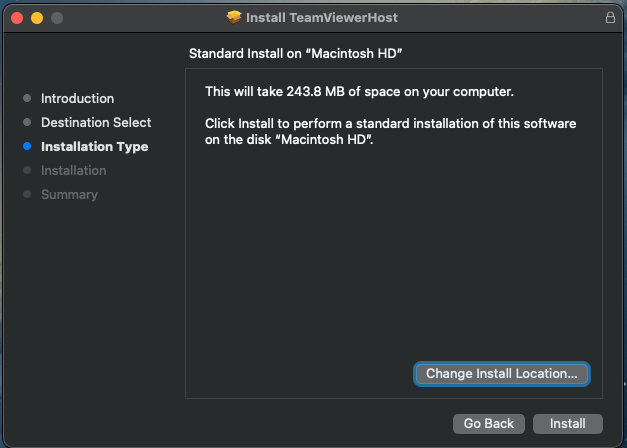
Step 8
You will now be given the opportunity to change the install location if required. Once you have selected the correct location click Install:
Step 9
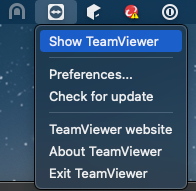
Once Teamviewer is installed you should find the icon  in the top bar. Click on the Icon and choose show teamviewer:
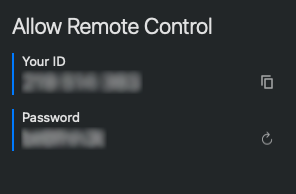
Step 10
When Teamviewer opens you should find the ID and Password to facilitate remote control under the heading Allow Remote Control as shown. Simply provide these details to your Tranquil Engineer. in the top
bar. Click on the Icon and choose show teamviewer:
Android Install Guide
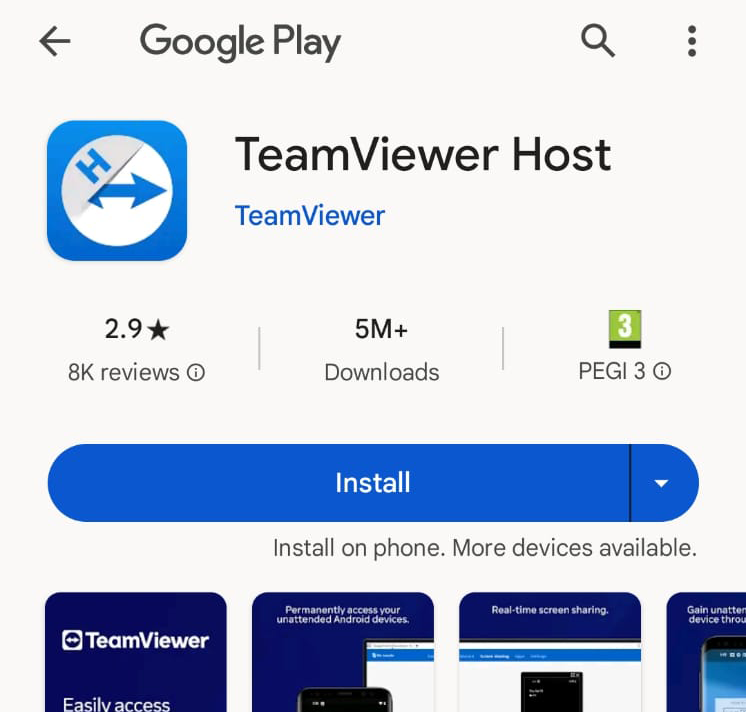
Step 2
Click here on your device to have it open Google Play and take you to the correct download for your device. Simply click on the Install button as shown below, the software will then install on your device.
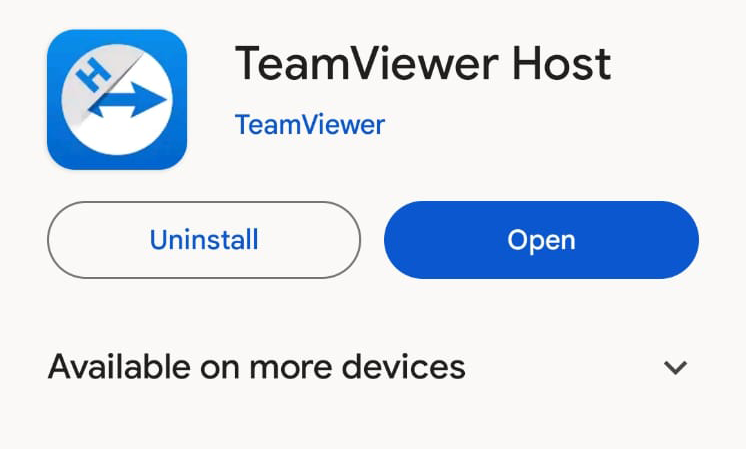
Step 3
Once installation is completed your screen should look like the image below.
Click Open to proceed.
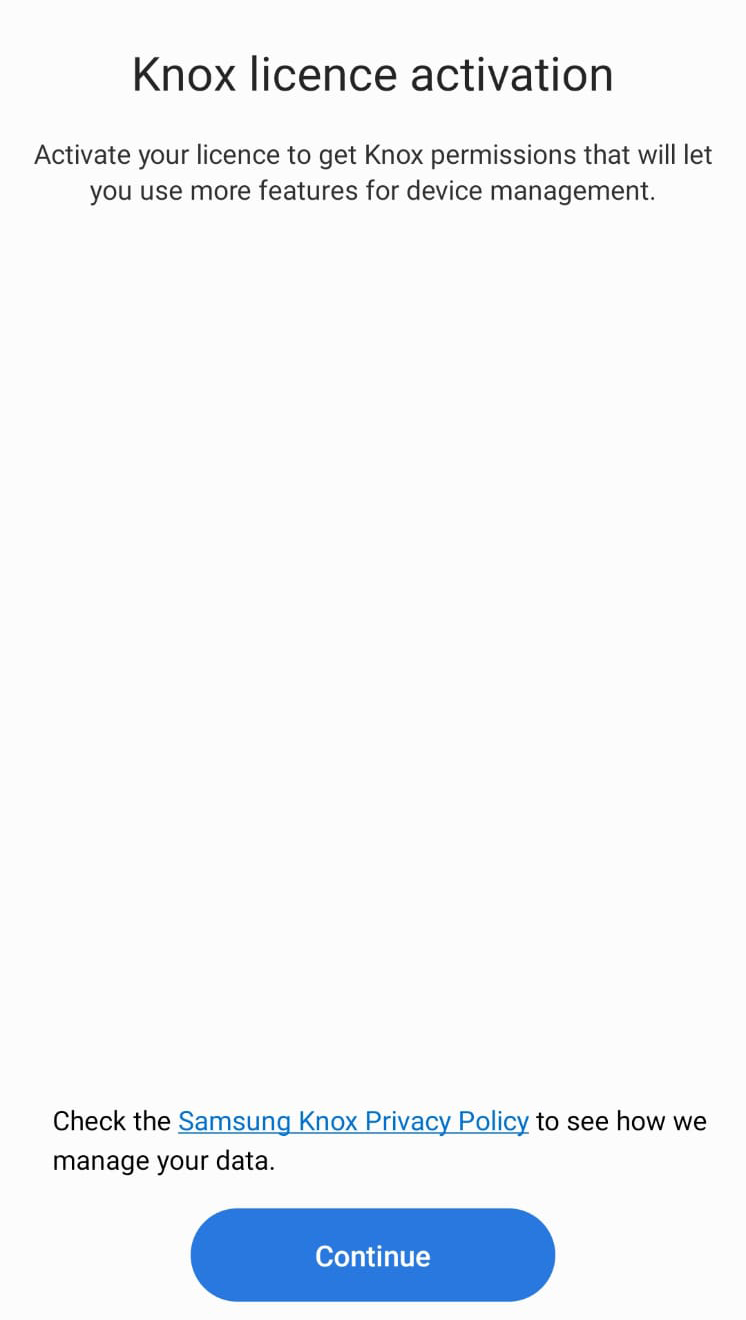
Step 4
On Samsung devices you will now be prompted to enable a Knox license. Simply click continue on the foot of the page as follows. This prompt may not show on other Android devices and you can simply continue to the next step if this is the case.
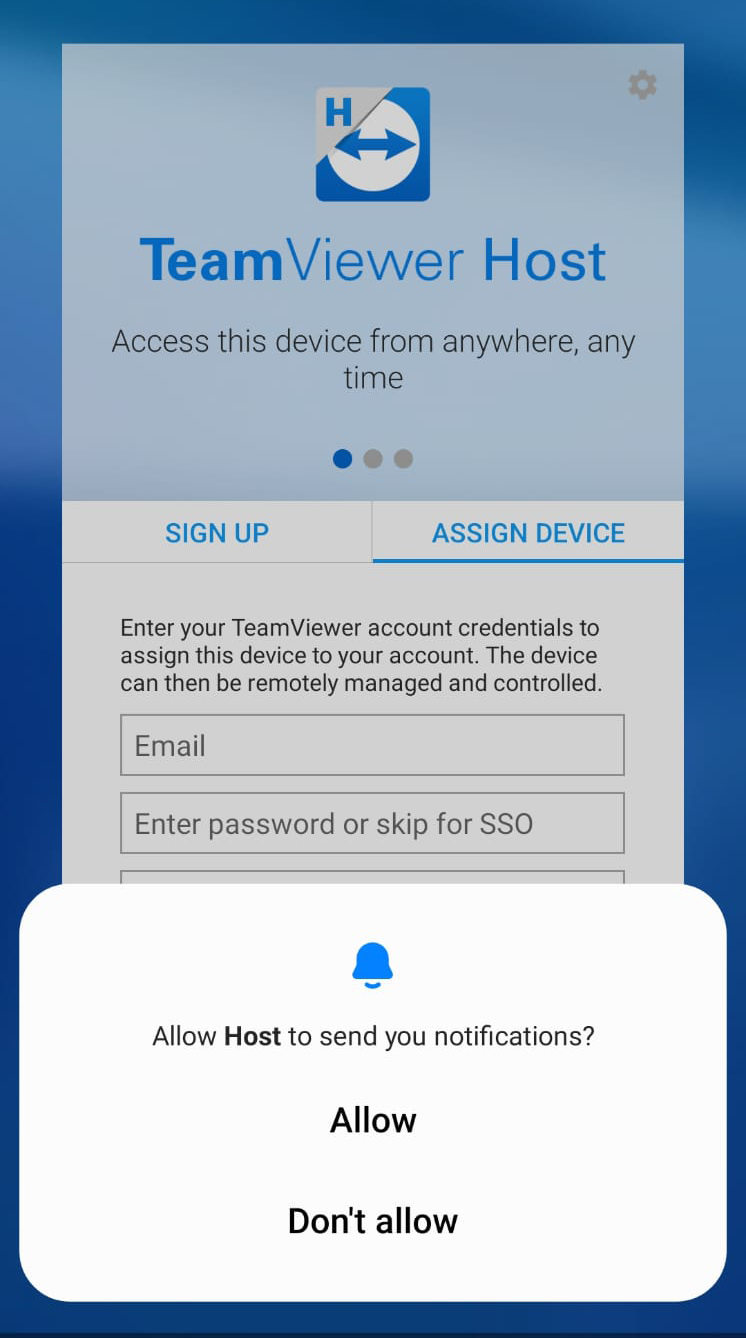
Step 5
Teamviewer Host will now open and prompt you to Allow notifications from the Software, click Allow here to ensure that you can approve our Engineers access.
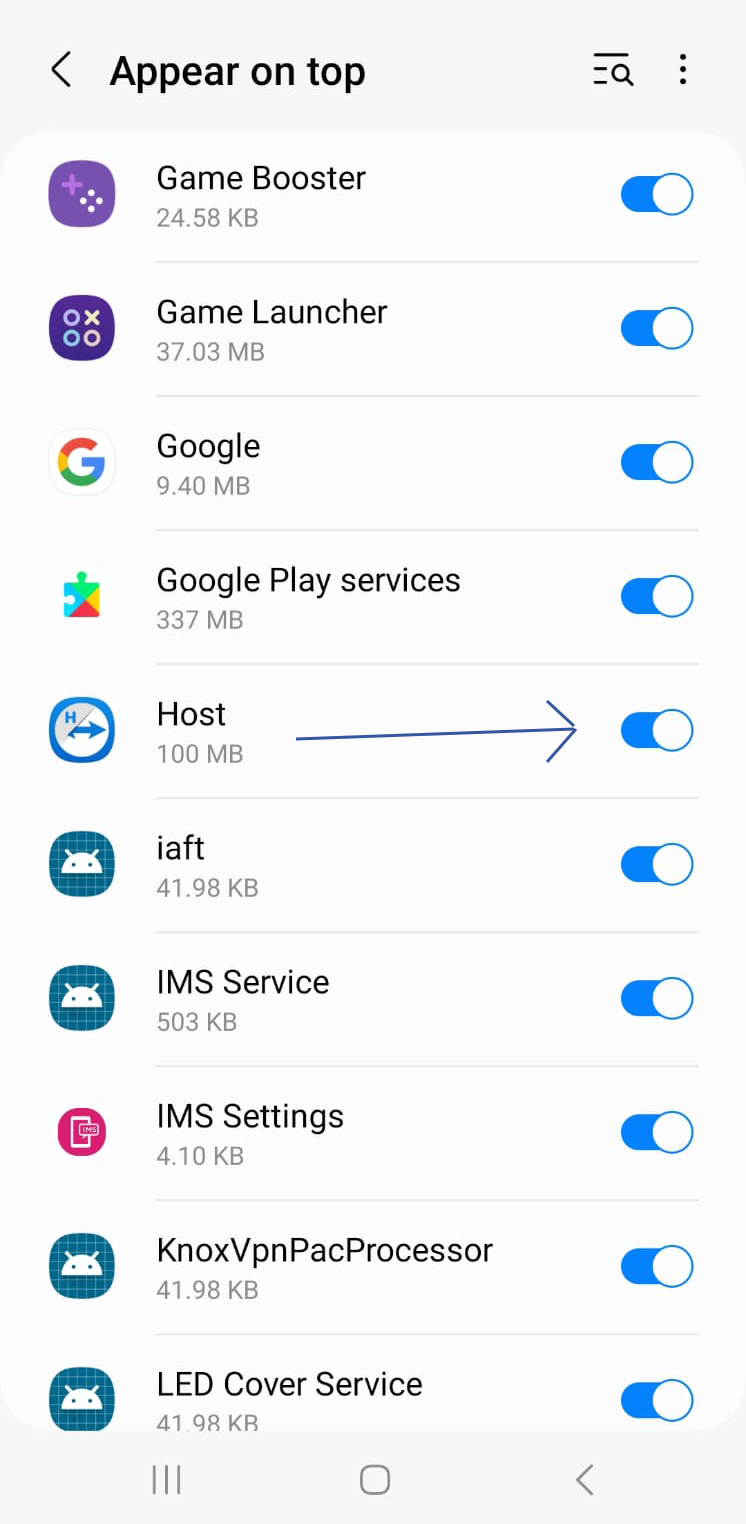
Step 5
On some devices you will now be prompted to allow Teamviewer to appear on top. Please enable the button shown below to confirm that this enabled for the service called Host.
Step 6
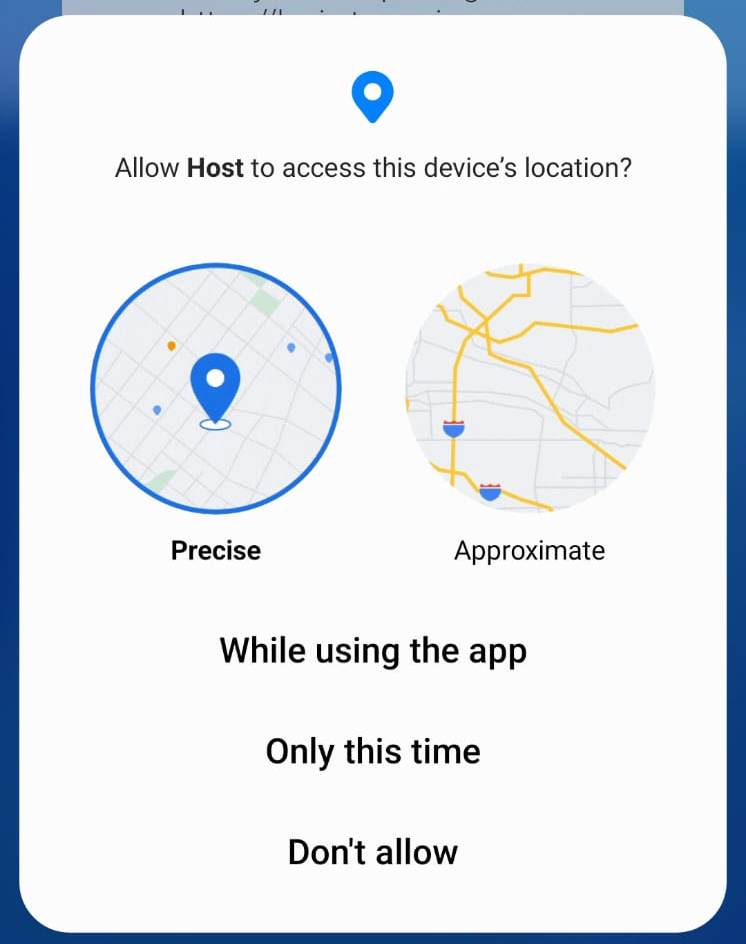
You may now be prompted to allow access to your devices location, be sure to choose While using the app. as shown in the first image below.
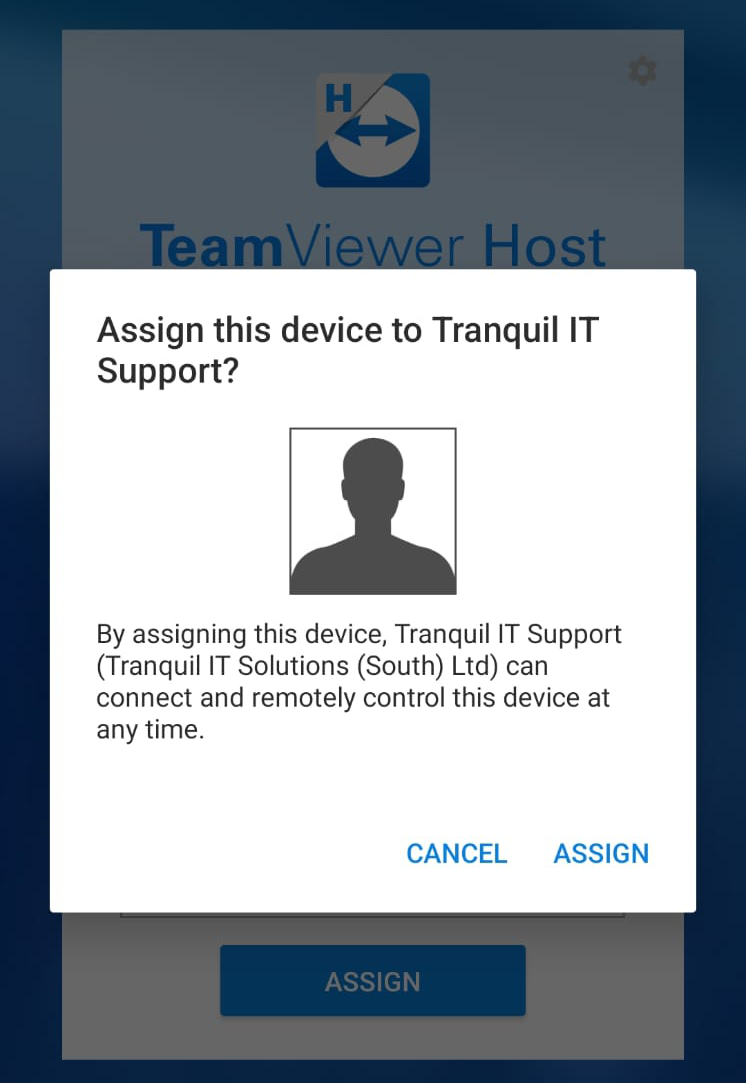
Teamviewer will now open and prompt you to Assign your device to your Tranquil Support Team. Simply Click Assign on this screen. Your Engineer should now be able to access your device to provide assistance. Simply confirm with your engineer that you have completed the installation process.
Linux Install Guide
Step 2
Click here to have your device take you to the
Please review the detailed user guides that are available here for full detailed guides on how to install Teamviewer on all supported versions of Linux. If you require additional assistance do not hesitate to contact your Tranquil IT engineer who will be happy to help.